
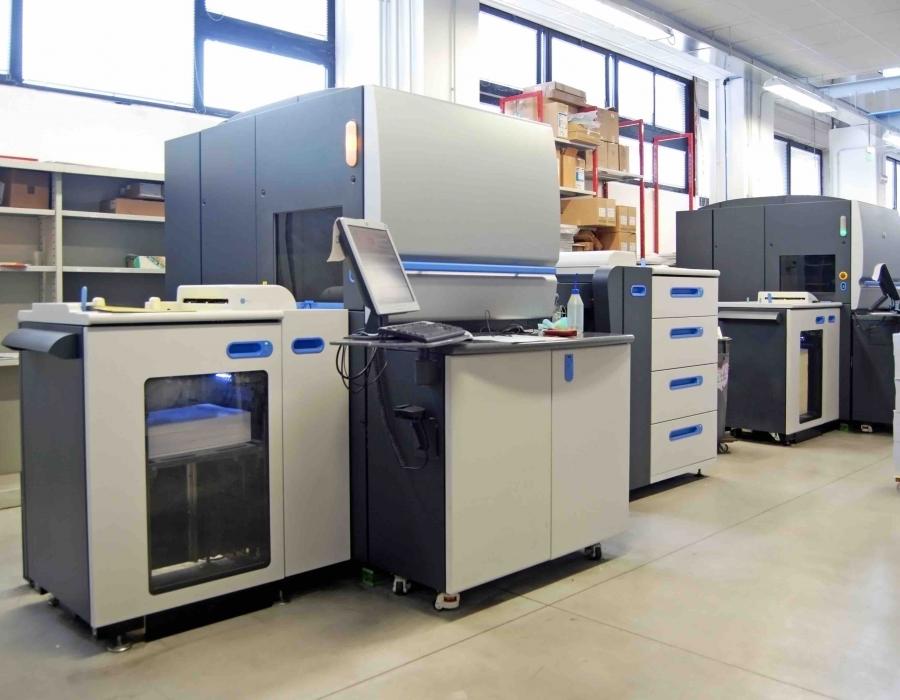
As we saw in the previous post about offset, there is a second technique related to this type of paper processing: digital printing, which can be applied in two formats, by means of liquid ink (HP Indigo) or dry toner (generally supplied by Ricoh, Kodak, Xerox or Konica Minolta). Compared to offset, it permits short runs, since the need for plates is eliminated, as is the obligation to clean the entire structure. Execution is therefore much faster and there is only the cost per copy.
Besides this factor, other differences are the capacity to print in white inks, the application of coatings and, particularly important for premium projects, the possibility of personalising each copy (text changes can be programmed on covers or in the colour of certain items for each unit produced, for example). With regard to the use of white, it should be remembered that more often than not a single run is insufficient to achieve the perfect result: for colour papers, a second print run in white is recommended for achieving good tone resolution.
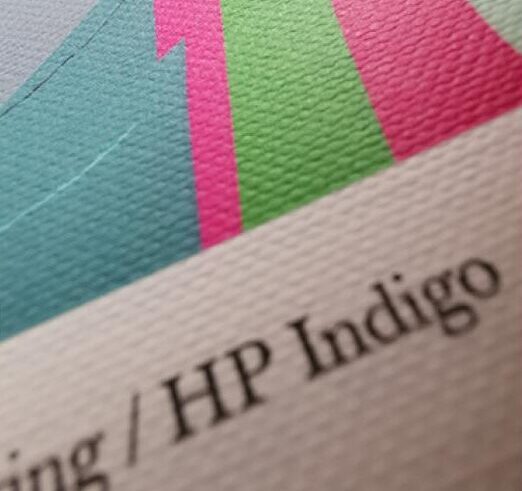
1. HP Indigo
It operates much like offset, with a format bigger than the SR3 digital standard and without the need for plates, as we have already seen. The machine contains several ink cartridges, which transfer the CMYK colours, Pantone or primer to a blanket, which reproduces the image on the paper. Thus, in the same way, this process is performed by means of one application per colour (multi-shot), although there is also the option of doing a single shot (one-shot) in the case of more difficult materials.
To go through this “circuit”, the sheets are inserted by a feeder, requiring another factor to be taken into account: paper position. First of all, and to guarantee an optimal result, it must be placed against the grain, in a maximum format of 70×50. If materials with two different sides are used (as in many of our papers, since one of the sides is manufactured especially for the ideal absorption of glue in coating jobs), they must be placed with the side to be printed facing upwards. On the other hand, in double-sided printing, the machine will apply the colour to the bottom side first and then to the top.
Another important detail to be taken into consideration is the blanket. This consumable must be replaced regularly in order to continue to deliver the best finish without “ghosting”, since it may transfer older images when it is highly worn. An increase in pressure can eliminate this effect, although the rubber should be replaced when this begins to happen. However, not only the blanket can cause printing defects. Although HP recommends the use of papers certified for Indigo, incredible results can be obtained with other papers, as can be seen in our printing guide. The most comprehensive machine makes it possible to apply a primer to improve printing, and we would particularly mention the option of selective primer: instead of the entire sheet, this element is applied solely to the places where the printed items will go, taking care not to change the feel and possible colour nuances in the paper used.
Finally, in order to work properly with embossing, the first thing that needs to be done is adjust paper thickness in microns, which is no problem if a thickness greater than the actual thickness of the material is specified (depending on the case, this may vary from 10% to 65%). In order to print these finishes correctly, the paper must be flattened so that the ink penetrates into the deepest recesses. For example, our Geltex in 115 gr delivers problem-free printing, although other thicker and harder material such as the Geltex Coated 275 gr must be handled with greater care because shading may occur in the deep areas of the embossment.
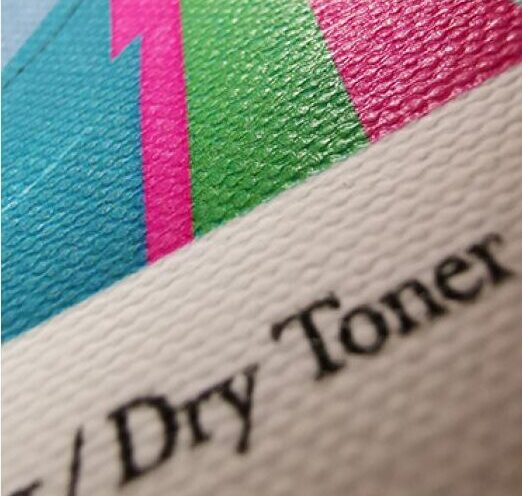
2. Dry toner
This format is the one that most resembles a traditional office printer. To operate, the machine contains different toner cartridges which transfer the CMYK colours (and white, if necessary) to a blanket. Using the heat from a fuser, created by an electrical impulse, the toner waxes melt and are transferred onto the paper, creating the image.
Although they offer fewer tweaking possibilities than HP Indigo, some models provide a certain leeway when working with material since it has a database prepared for printing on all types of textured papers or uneven surfaces, such as embossments. Another variable to be adjusted includes the amount of toner and the electrical impulse applied. Moreover, it prints better against the grain, and can do the SR3 format.
With regard to the grammage tolerated for a good result, if the job is performed on one side, materials above 300 gr can be printed. On the other hand, for two-sided jobs, the sheets must be between 150 gr and 200 gr. Another useful tip consists of blowing the paper before it enters the machine, and more or less blowing may be required depending on the material. The objective is to loosen the papers inside the feeder to avoid jamming.
Finally, in embossing, printing is made easier by the use of the job database for textured papers provided by the system. In this case, as we cannot adjust pressure as we can in offset, the two parameters that can be adjusted for each project are electrical impulse and toner density.