
Printing is the most widespread processing technique, since it is very common in all kinds of papers. However, if we want to achieve a proper and highly-detailed finish using premium materials it is essential to take certain process details into account. First of all, it is important to point out that not all types of printing work in the same way. There are two methods for this general technique: offset (using conventional, fast-drying or UV inks) and digital printing (with liquid ink or dry toner). In this post we will be focusing on the first option.
It should also be remembered that offset is used mainly for long print-runs, due to the cost of creating the plates for the process, which must be recouped through production. Moreover, different printing tests are required to fine-tune the machine before the right result is obtained. Having said that, once these steps have been taken, every copy is produced at a very low cost. In order to find out how to apply this technique and obtain the best possible result, we shall go over the main factors that need to be considered.
1. Process
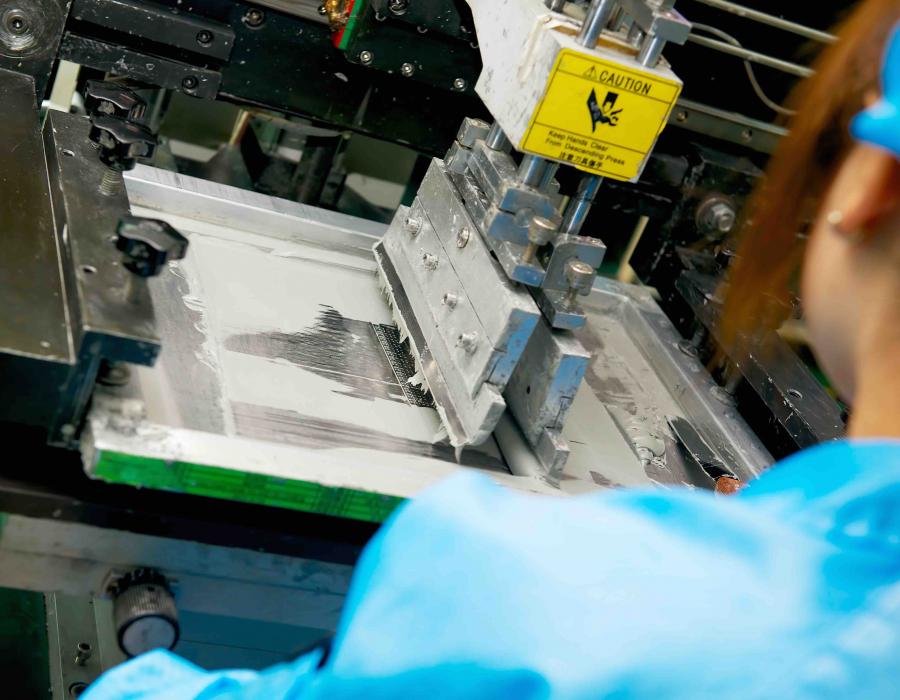
Offset printing is a process that is based on the application of ink using metal plates. It is an indirect type of work, since the image is not transferred directly from the structure onto the final material but rather travels through a set of cylinders. First of all, there is a tank containing water, plus a set of wetting rollers that apply the water to the plate containing the image to be printed (located on the impression cylinder). This structure has a surface treatment (explained in detail further below) which only allows the water to adhere to the areas that form the image in negative (hydrophilic area). Another tank contains the ink, which reaches the plate via the inking rollers and is then deposited on the areas containing the hydrophobic compound and which therefore have not been wetted with water.
Once the impression cylinder has been inked only on the areas that we want, it goes onto the offset blanket cylinder, comprised of rubber, like a “sponge”, which prints on the material. At the other side of the paper there is a pressure cylinder which helps to keep the paper firm to guarantee proper transfer and so that different pressures can be applied. This final part is particularly important when working with embossed substrates, since it flattens them and makes sure that they work properly.
2. Inks
There are different types of ink for this printing technique which are distinguished by the way in which they cure (i.e. “dry”). On the one hand there are the conventional or oil-based inks, cured by means of oxidation, by the effect of the air, and whose operating principle is that the oil they contain repels the water in the process. In uncoated paper, the ink penetrates the paper, since it is absorbed (like kitchen roll when it is wetted with water). On the other hand, in coated paper, the ink remains on the surface thanks to the initial coating applied to the material, thus yielding greater precision and gloss (like photographic paper). Closely related to these inks are the fast-drying inks, which contain a component that leads them to cure much faster than conventional inks, preventing the ink from offsetting when it is applied to materials with scant or no porosity, such as coated papers or papers with surface treatment.
Then there are the UV inks, which need a chemical reaction initiated by ultraviolet rays to cure. The drop of ink (consisting of a pigment, solvent and curing components) is deposited on the material and remains on the surface. UV radiation is applied to create chains between the components by chemical reaction, which is what cures the ink. Moreover, there are two ways of performing this process, depending on the manufacturer: LED-UV and H-UV, both of which are an evolution of conventional UV inks (whose use has waned on account of their toxicity).
The former, as its name denotes, uses LED light, which unlike traditional UV light does not generate ozone, a toxic and pollutant gas. As a rule, manufacturers offer it as an extra feature on their printing machines, it delivers great savings in terms of power since it consumes a lot less, and lamp life is approximately 20,000 hours. Unlike the former, the H-UV was developed by Komori (although it is not exclusive to this manufacturer) and uses lamps tinted on the inside for the purpose of curing. To this end, the lamps are treated with iron to change the wavelength and have a service life of between 500 and 750 hours. This format does not emit ozone either and requires less energy and heat.
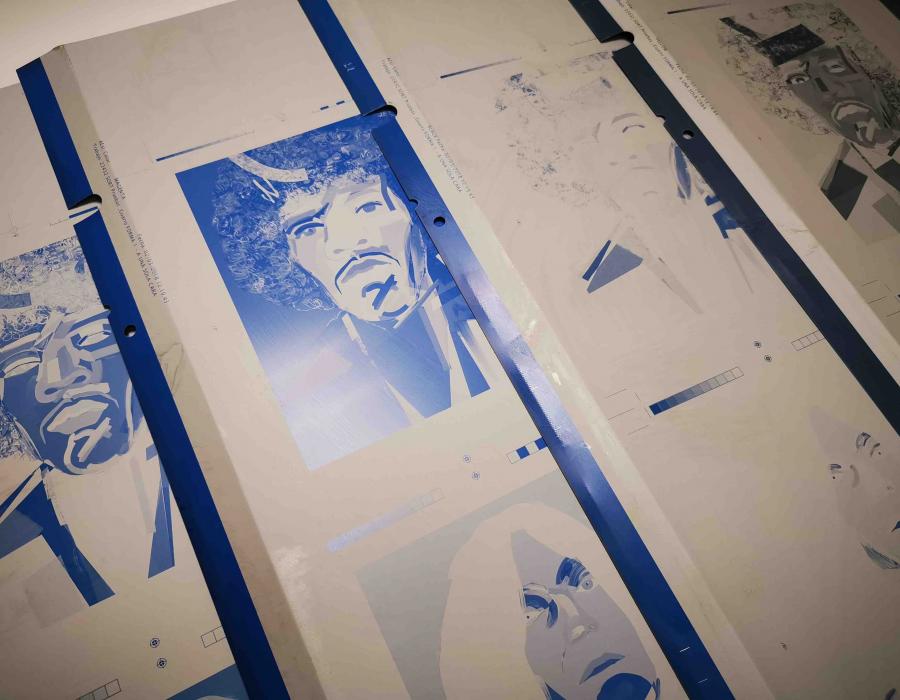
3. Plate
As we have already seen, to produce the drawing, an aluminium plate containing the image to be reproduced is placed on the impression cylinder. For this purpose, first of all, an emulsion comprised of polymers is applied to the aluminium plate. Thanks to this substance, at the end of the process, the plate will be able to attract the ink to the areas we want to print or else repel the water in the areas that are not to be printed. To this end, part of this emulsion is burnt by a laser that adheres it to the aluminium through the chemical reaction created.
Once this step has been performed, the plate is run through a processor which, by means of the chemical reaction produced through contact and the friction with the rollers, eliminates the areas of the emulsion that have not been burnt from the surface and have therefore not adhered to the aluminium. This part then goes through the water tank, which cleans it with a pressurised spray. Finally, it is coated with rubber for protection and is then dried, in what are the last two parts of the process.
The result obtained is the plate with the positive image which subsequently, in the printing process, will be transferred in negative to the rubber and then in positive once again onto the paper.
4. Registration mark
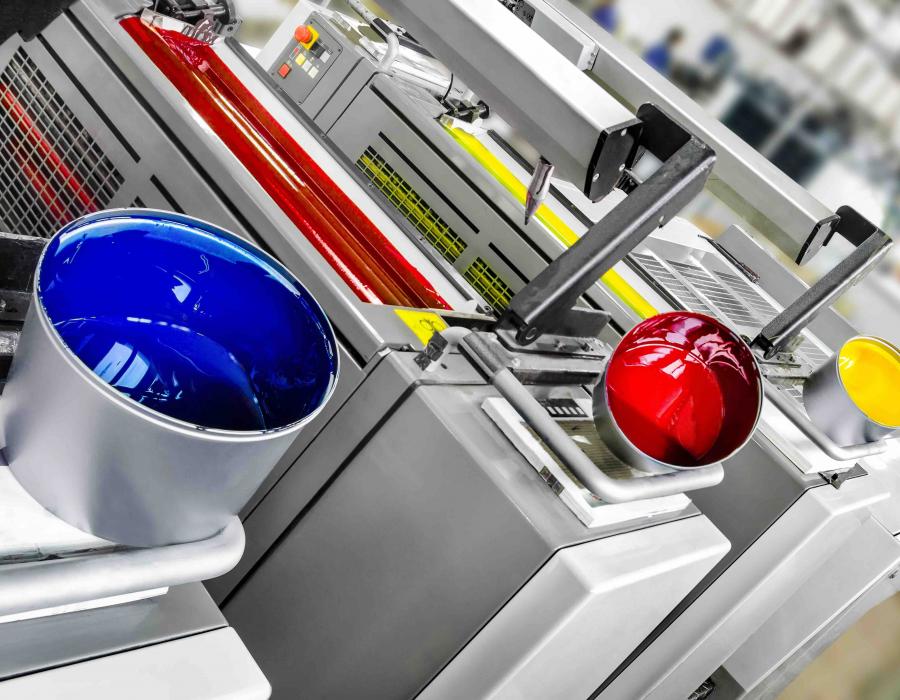
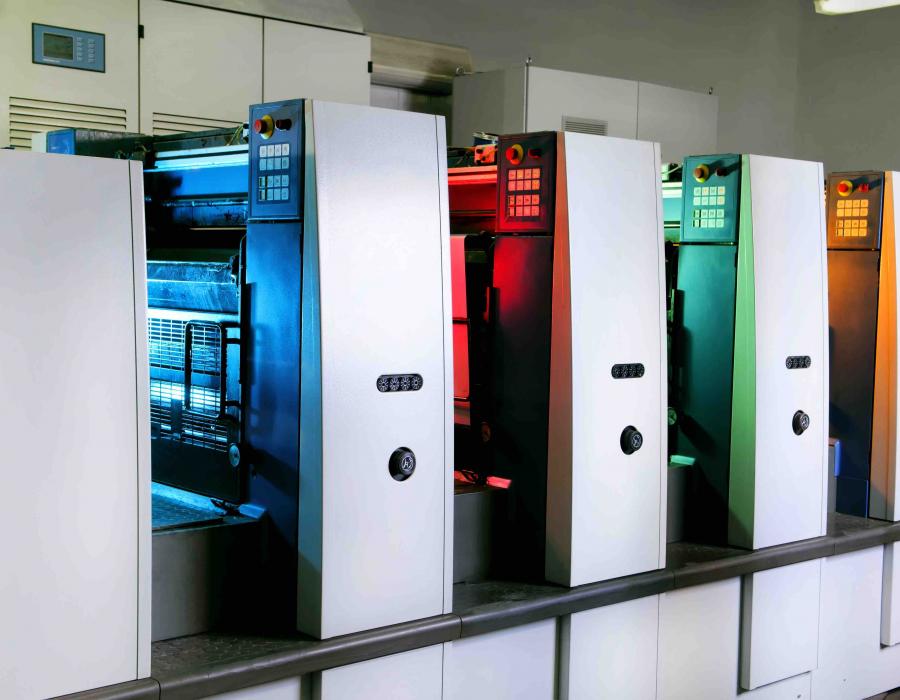
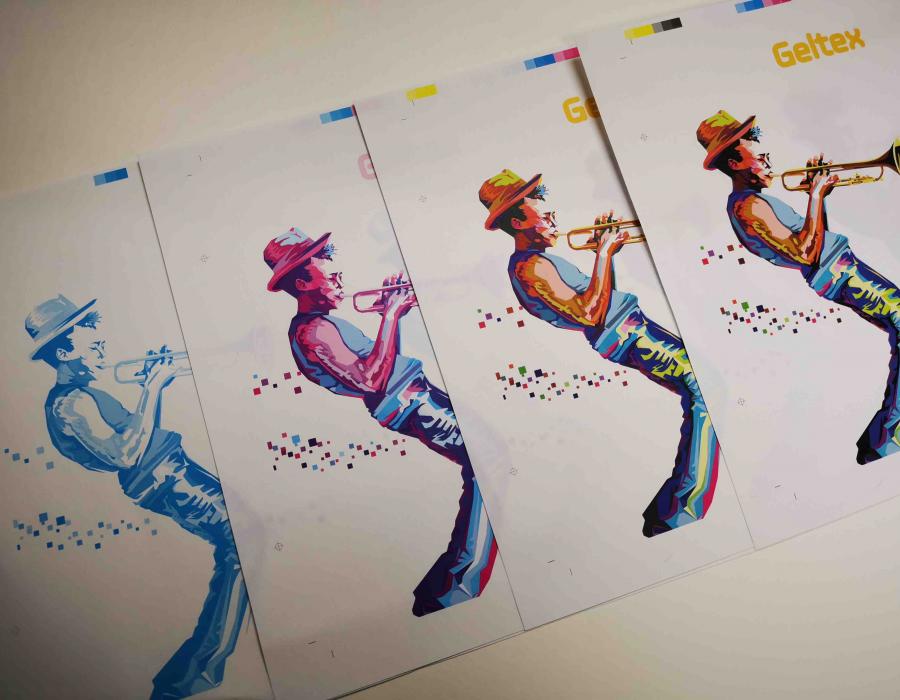
The print is created through the combination of four plates, one for each CMYK colour (cyan, magenta, yellow and black), meaning that in conventional printing structures there are four different bodies, one for each one of the shades to be applied. For this reason, it is important that all the inks be applied exactly at the same point to guarantee the proper formation of the different colours. To this end, registration marks are included in the form of crop marks. When applied correctly, these forms look black after printing (in-register), whereas if the application is not correct, the four shades can be seen in different positions (out-of-register). This simple job can get complicated if the paper moves or if dimensional stability is not maintained during the printing process.
This is more likely to occur with high-quality materials containing a greater amount of paper pulp since the threads are not flat (although this is not evident to the naked eye). Therefore, when the two cylinders press the paper, this “wave” is stretched. This problem occurs mainly with printing in the direction of the fibre, meaning that one important premise in this type of processing is that it should always be applied against the grain, particularly in premium papers made with virgin fibres.
5. Line screen
The positive part of the plate (the part which, as we have seen, is inked) is comprised of numerous dots that make up the image to be printed. Each colour combination is created by specific grains, which are studied to achieve the desired shade and to avoid the moiré effect that occurs in the final image when the line screen is not correct. To this end, the dots of each shade must be gradually tilted differently to the rest so that the dots that are close create the visual effect of the colour. This creates what we call the rosette.
There are different types of line screen depending on the number of dots per square inch: the greater the number of dots the better the definition. However, we should remember that not all line screens are used in all materials, the most common being: 65-85 lpi (lines per inch) in newspaper paper, 100-133 lpi in uncoated paper, 133-170 lpi in coated and matt 150-300 lpi in glossy-coated. These standards do not mean that other values cannot be used, since Guarro Casas has used line screens of up to 210 lpi in papers which theoretically do not accept this density. Therefore, offset generally works between 65 and 300 lpi, as we can see.